Cart is empty!
Please add some product!
Shopping cart
Cart is empty!
Please add some product!
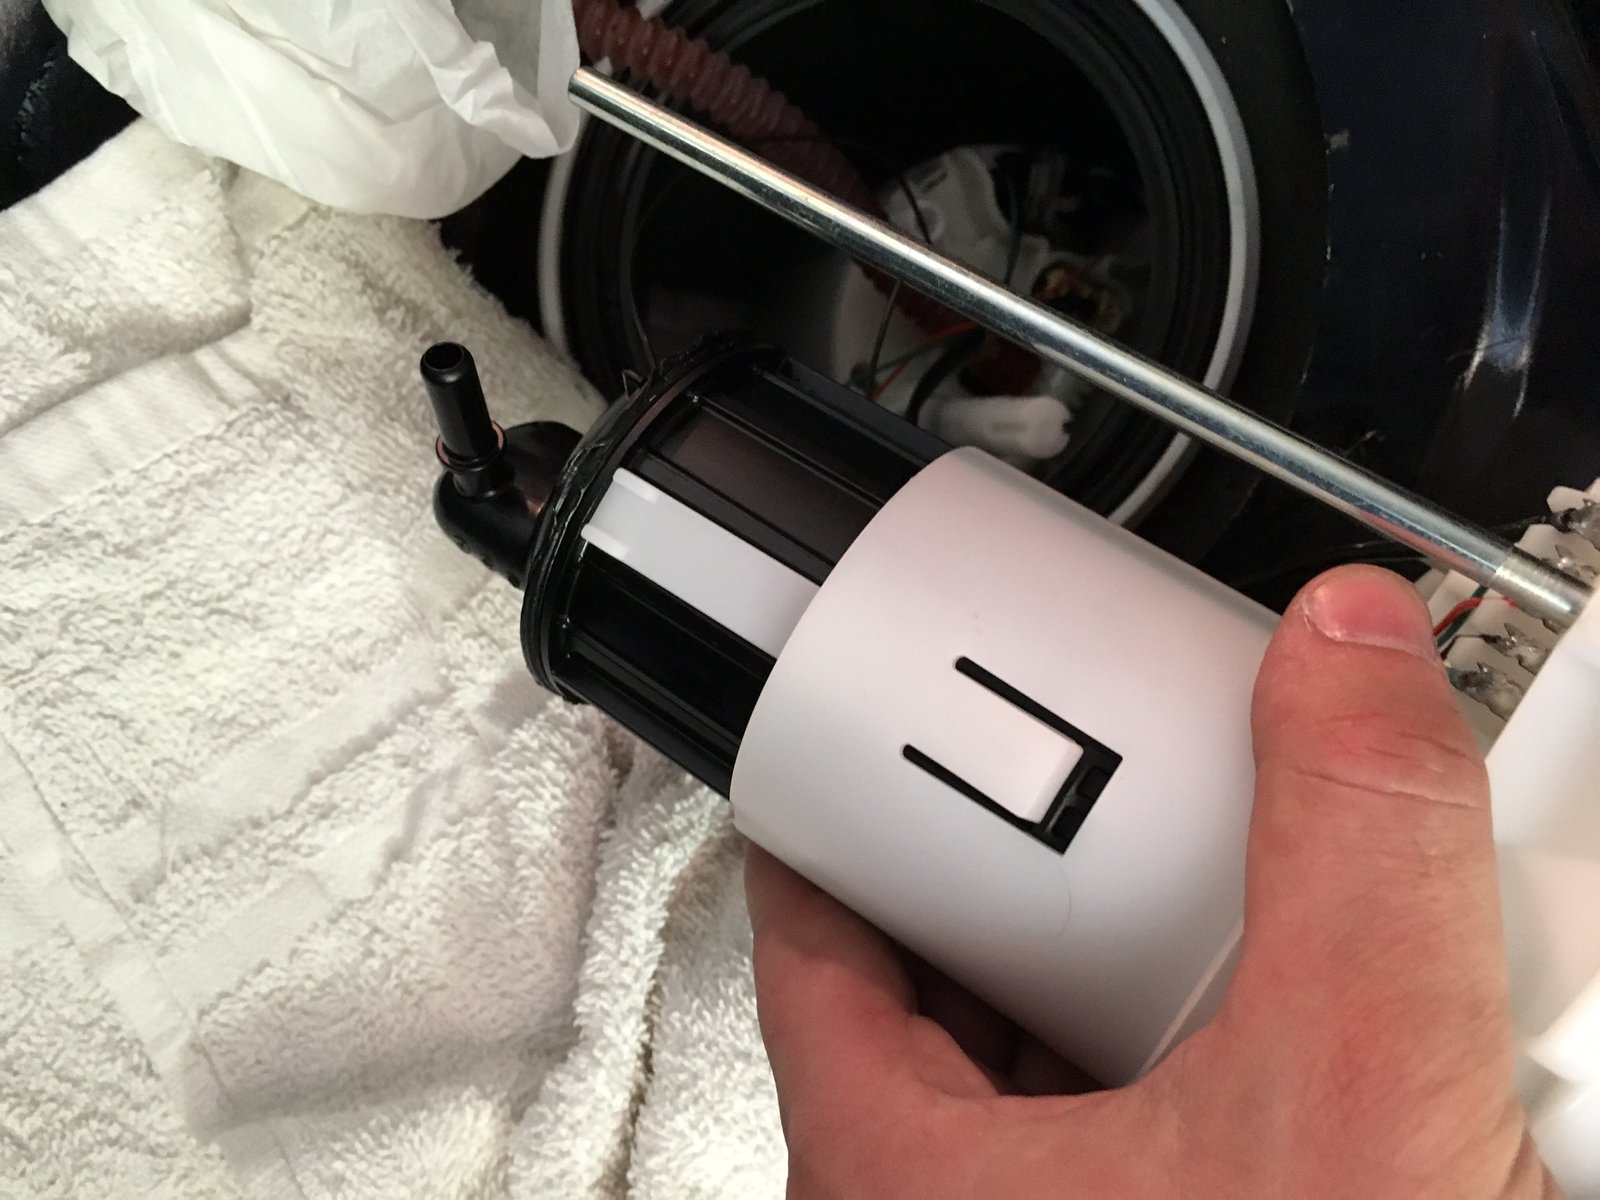
Maintaining your vehicle in top condition is crucial, and one often overlooked component is the fuel filter. This small but essential part plays a significant role in keeping contaminants away from your engine, ensuring optimal performance and efficiency. Over time, fuel filters can become clogged with dirt, rust, or other particles from the fuel tank, leading to reduced engine power, poor fuel economy, or even potential engine damage. Replacing your fuel filter regularly is a vital part of your vehicle’s maintenance schedule. This comprehensive guide will walk you through the process of safely replacing your fuel filter, with clear and concise instructions to make it accessible even for beginners. By the end of this article, you’ll feel confident in performing this crucial maintenance task, helping to extend your vehicle’s lifespan and avoid costly repairs down the line.
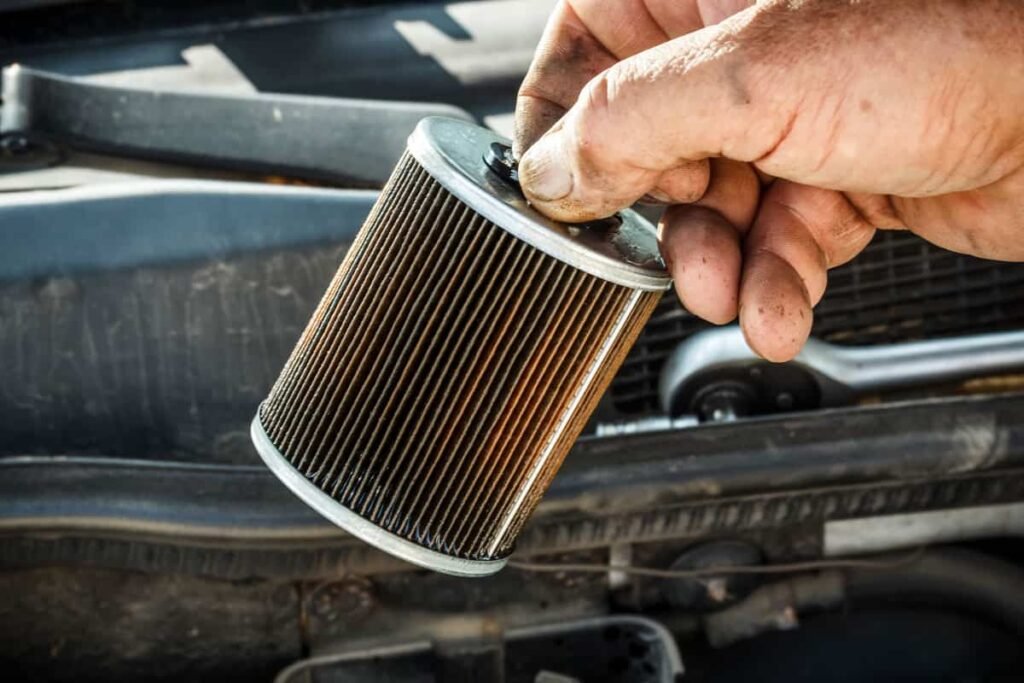
The fuel filter serves as a barrier that prevents contaminants from reaching your vehicle’s engine. Fuel tanks can accumulate debris over time, including dirt, rust, or other particulates, and these impurities can wreak havoc on an engine if allowed to pass through. The fuel filter ensures only clean fuel makes its way into the engine, contributing to smoother combustion and improved efficiency. A well-maintained fuel filter also helps maximize fuel economy and engine performance. Ignoring a dirty or clogged fuel filter can lead to significant issues, such as reduced power output, stalling, or even complete engine failure. Typically, most manufacturers recommend replacing the fuel filter every 20,000 to 40,000 miles, but this can vary based on driving habits and conditions. Regularly checking and replacing your fuel filter is a simple yet effective way to protect your vehicle’s health and maintain its reliability.
Before starting the fuel filter replacement process, it’s essential to gather all the necessary tools and materials to ensure a smooth and efficient job. Basic tools include a wrench set for loosening bolts, a drip pan to catch any spilled fuel, and safety goggles to protect your eyes from fuel splashes. Additionally, wearing protective gloves is crucial to safeguard your hands from coming into direct contact with fuel and other hazardous substances. You’ll also need clean rags for wiping away any fuel residue and a flashlight if the fuel filter is located in a hard-to-see area. Make sure you have the correct replacement fuel filter for your vehicle’s make and model, as using the wrong one can lead to compatibility issues or poor performance. Proper preparation can save time and make the entire process safer and more efficient.
Preparation is key when it comes to safely replacing your fuel filter. Start by parking your vehicle on a flat surface in a well-ventilated area, away from any open flames, sparks, or other sources of ignition. Fuel vapors are highly flammable, so safety must be a top priority. Once parked, disconnect the vehicle’s battery to eliminate the risk of accidental electrical sparks while working on the fuel system. Next, it’s crucial to relieve the pressure in the fuel system. Different vehicles have various methods for this, so it’s best to consult your vehicle’s owner manual. Common techniques include using a fuel pressure relief valve or temporarily disconnecting the fuel pump fuse. By taking these initial precautions, you reduce the risk of fuel spray or spills, ensuring a safer working environment for the task at hand.
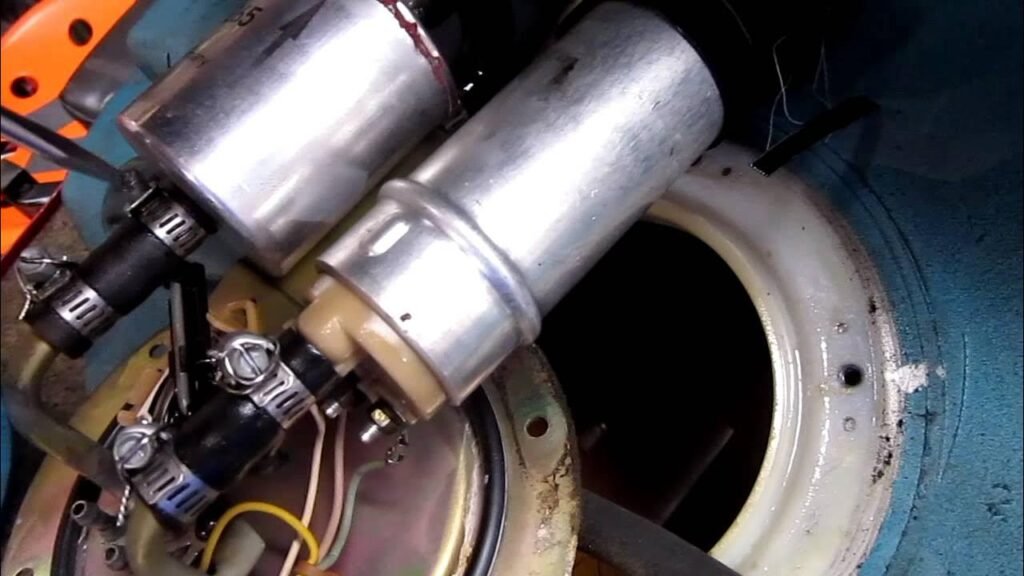
The location of the fuel filter varies depending on the vehicle’s make and model. In some cars, the fuel filter is located along the fuel line, underneath the vehicle, often near the fuel tank. In other models, it may be found in the engine bay, making it more accessible. Refer to your vehicle’s manual to determine the exact location of the fuel filter. If the filter is positioned in a hard-to-reach area, using a flashlight can be helpful. Identifying the correct spot before you begin ensures that you won’t waste time searching or mistakenly tampering with the wrong component. Understanding the layout of your vehicle’s fuel system can make the replacement process more straightforward and efficient, especially if you’re working in tight or poorly lit conditions.
Once you’ve located the fuel filter, you can begin the removal process. Position a drip pan beneath the fuel filter to catch any residual fuel that may spill when the lines are disconnected. Using a wrench, carefully loosen the bolts or clamps that secure the fuel filter in place. Take your time, as fuel lines may still contain pressurized fuel, which can spray out unexpectedly. When disconnecting the fuel lines, be mindful of any quick-release clips, and use the appropriate tools if necessary to avoid damage. If the fuel filter is particularly stubborn, gently wiggling it back and forth can help loosen it. Always work in a well-ventilated area to avoid inhaling fuel vapors, and be cautious of fuel spills, as they can be hazardous to both your health and the environment.
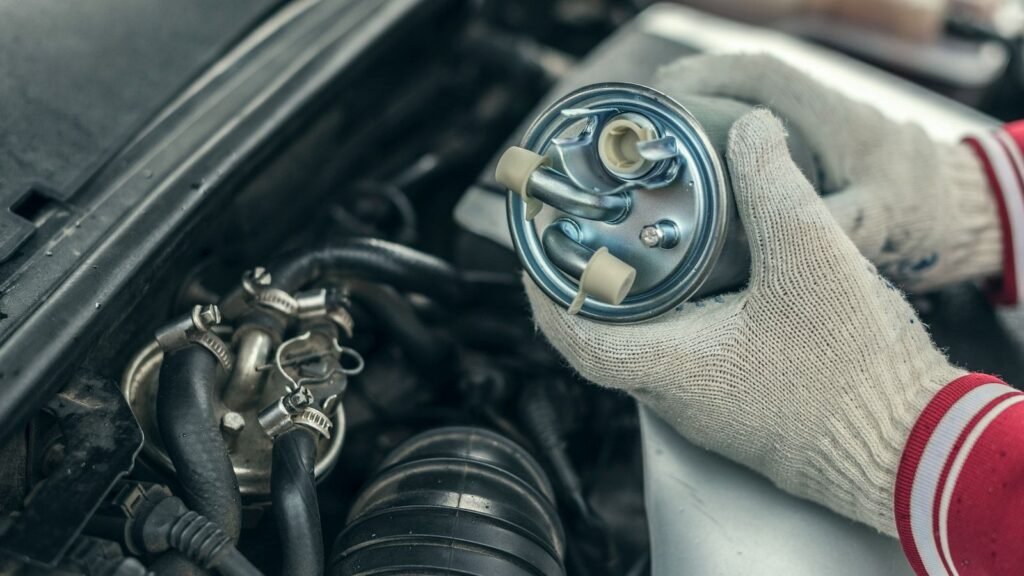
Before installing the new fuel filter, compare it to the old one to ensure they match in size and design. This step is crucial, as an incorrect filter can compromise the fuel system’s performance. Pay attention to the orientation of the new filter; most have arrows indicating the direction of fuel flow, which should point towards the engine. Secure the new filter in place by reconnecting the fuel lines and fastening the bolts or clamps snugly. Ensure all connections are tight to prevent fuel leaks, but avoid over-tightening, which could damage the fittings. Double-check that the filter is securely attached and properly aligned. Taking these extra precautions will ensure the replacement is successful and the fuel system operates smoothly.
With the new fuel filter in place, it’s time to test your work. Reconnect the vehicle’s battery and start the engine. Let it run for a few minutes to build up fuel pressure and check for any leaks around the filter. If you notice any fuel dripping or smell a strong odor of gasoline, immediately turn off the engine and tighten the connections as needed. Listen to the engine to ensure it runs smoothly and doesn’t show signs of stalling or hesitation. Observing these initial moments after installation is crucial, as any issues can often be detected right away. If everything appears to be functioning correctly, you can be confident that the fuel filter replacement was successful.
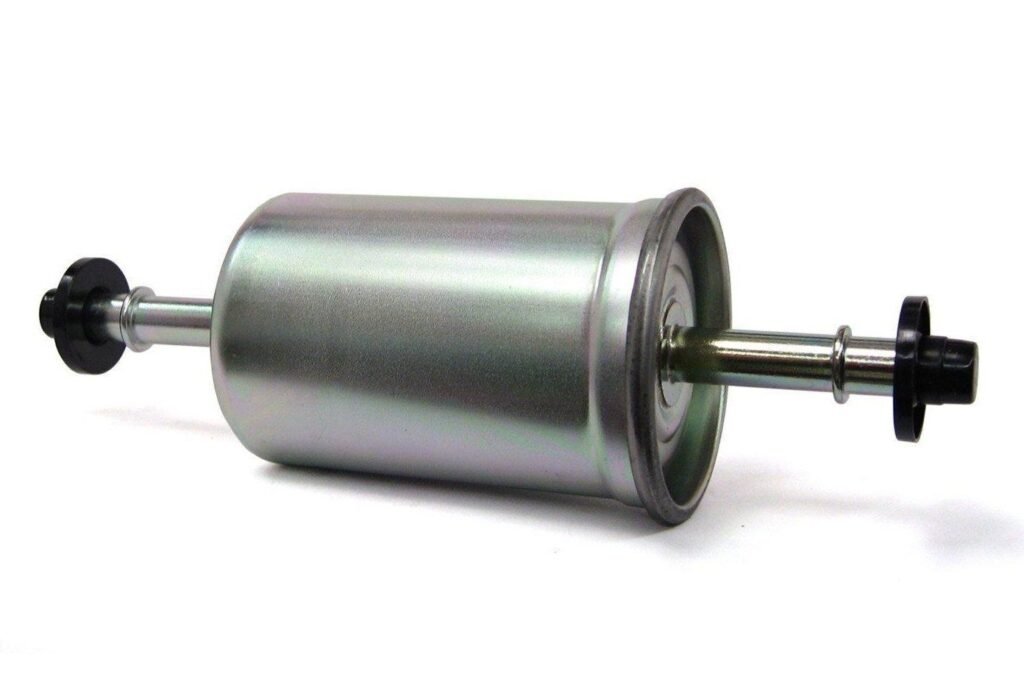
Proper disposal of the old fuel filter and any fuel spills is essential. Check local regulations for hazardous waste disposal to ensure you’re discarding the filter safely and legally. Monitor your vehicle’s performance over the next few days, paying attention to signs of fuel delivery issues, such as hesitation or reduced power. Keeping a maintenance log is also a good idea, noting when the fuel filter was replaced and when the next replacement is due. Regularly replacing the fuel filter is a simple but effective way to maintain your vehicle’s health, contributing to a more efficient and reliable driving experience.
Comments are closed